

.webp)


Your CPM schedule can be accurate when you create it and already be out of date a few weeks later. A late concrete pour, delayed delivery, or slower-than-planned activity can change everything that follows.
Keeping the schedule updated matters because delays remain common. A 2026 AGC and NCCER survey found that 74% of construction firms experienced at least one significant project delay in the previous year.
A construction CPM schedule update records actual progress, revises remaining work, and recalculates dates, float, and the critical path. This guide explains how to update a construction CPM schedule step by step with construction scheduling software.
When Should You Update a Construction CPM Schedule?
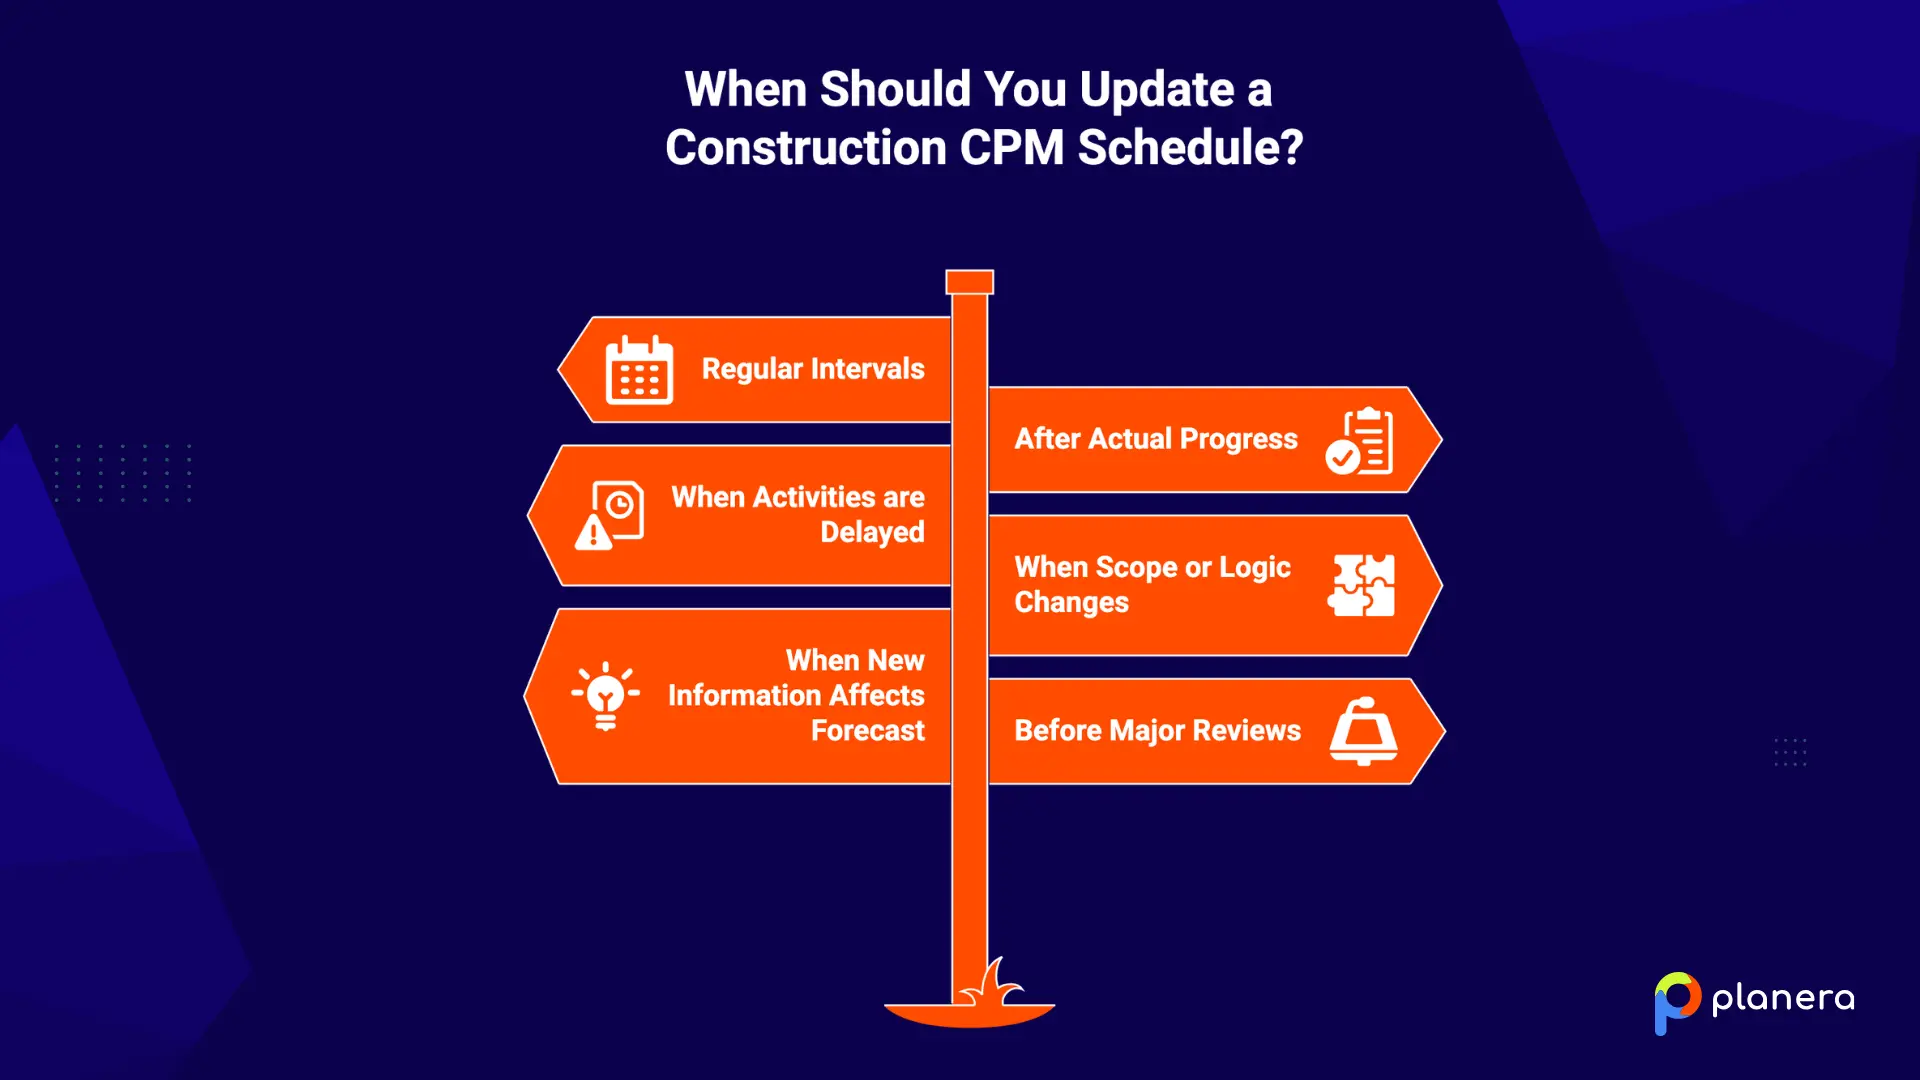
A CPM schedule should be updated on a regular cycle, but certain project events may require an update sooner. Common triggers include:
- At regular update intervals: Weekly updates are common, while some contracts require monthly updates. Set a consistent data date and use the same update cycle throughout the project.
- After recording actual progress: Update the schedule once you have current start dates, finish dates, actual durations, and remaining durations from the field.
- When activities are delayed: Record delays when they happen rather than waiting until the end of the project. This keeps the forecast current and makes it easier to assess their effect on completion dates.
- When scope or logic changes: Changes to the project scope, activity relationships, or sequence of work can affect the schedule and should trigger a review.
- When new information affects the forecast: Late approvals, changed site conditions, material delivery problems, or other events can change planned dates and should be reflected in the next update.
- Before major project reviews: Use a current schedule for owner meetings, progress reporting, payment applications, and other formal project reviews.
What Information Do You Need to Update a Construction CPM Schedule?
A schedule update is only as accurate as the information you put into it. Before updating the schedule, gather:
- Actual start and finish dates: Record when each activity actually started or finished since the last update.
- Current activity status: Mark activities as not started, in progress, or complete, and record the remaining duration for unfinished work.
- Remaining work: Confirm what still needs to be completed and whether the planned sequence or duration has changed.
- Delays and delay events: Record when a delay occurred, which activities it affected, and any supporting records such as daily reports or site photos.
- Logic and dependency changes: Capture any changes to activity relationships or work sequences made in the field.
- Change orders and scope changes: Add new or revised work that was not included in the original schedule.
- Updated milestone dates: Check whether key project milestones have been achieved or need to move.
- Resource and productivity changes: Record changes in crew size, equipment availability, or production rates that could affect activity durations.
The best source for this information is the team doing the work. With our field schedules, superintendents and foremen can update progress from the field on any device, including an iPad.
Those updates can then be reflected in the construction master schedule, keeping field progress and the project plan connected. Pull planning in construction is one method teams use to gather that field input collaboratively before it feeds back into the CPM schedule.
How Do You Update a Construction CPM Schedule in Planera?
As a CPM scheduling platform, Planera keeps the CPM schedule update process in one workflow. Start with a new schedule version and data date, record actual progress, update remaining work, reschedule, and then review what changed.
1. Create a New Schedule Version
Create a new version before making any changes to the current schedule. This preserves the previous plan so you can compare it with the update later.
It also gives you a clean record of what the schedule looked like at each update, which is useful when tracking how the project forecast changes over time.
2. Set the Schedule Data Date
Set the data date to the latest point through which actual progress has been recorded. In Planera, the data date marks the beginning of the day, so enter progress through the end of the previous day.
Setting the data date first gives the rest of the update a clear cutoff point.
3. Record Actual Start and Finish Dates
Enter the actual start date for activities that have begun and the actual finish date for activities that are complete. These dates replace the planned dates when calculating the current schedule.
With Planera, you can update activity status from the Progress Updates panel or directly from the Canvas, Table, or Gantt views.
4. Update Activity Progress
Update each activity based on what has actually happened in the field. Mark completed activities as finished and identify activities that are still in progress.
Planera calculates percent complete from the remaining duration, so you can focus on how much work is left rather than entering a percentage based on guesswork. You can also filter activities by WBS, code, or owner so different team members can update their assigned work.
5. Update Remaining Durations
For activities that are still in progress, enter the current remaining duration or expected finish date. Planera uses this information with the data date to calculate the updated forecast.
Base the estimate on current field conditions. If a task originally had three days left but productivity has slowed and it now needs five, the schedule should reflect those five days.
6. Record Delays and Their Impact
Document delays as part of the schedule update. Record the affected activity, when the delay occurred, and the reason for it, along with supporting notes or project records where available.
Then check what the delay does to successor activities. A two-day delay does not necessarily mean the project finishes two days late if the activity has available float. The schedule needs to show that impact rather than assuming every delay affects the completion date. Where delays do affect the finish date, teams can explore options like construction fast tracking to recover time by overlapping activities.
7. Review Activity Relationships
Check the logic between activities when work has changed sequence or started before a predecessor was complete. Out-of-sequence work can affect how the remaining schedule is calculated.
Planera supports retained logic and progress override. Retained logic preserves the original dependency, while progress override allows the remaining work to continue despite the original relationship. After making this choice, review the resulting dates, float, and critical path.
8. Add Activities for Scope Changes
Add new activities when the project scope changes. In Planera, you can create these additions as fragnets and connect them to the existing schedule.
Give the new activities the appropriate relationships and dates before rescheduling. This allows the added work to become part of the current forecast instead of being tracked separately.
9. Review Milestones and Constraints
Check milestone dates and statuses against the latest project information. Confirm which milestones have been achieved and which dates need to change.
Also review constraints applied to activities. A hard constraint can affect float and the critical path, so use constraints only when they represent a real requirement. Where possible, let the CPM logic determine dates.
10. Reschedule the Remaining Work
Once the progress and schedule changes are entered, run the schedule. Planera recalculates the remaining activity dates using the updated progress, relationships, constraints, and data date.
Review the results before publishing the update. Look for unexpected date movements, activities that were not updated, and changes to the project completion date.
11. Review the Critical Path and Compare With the Baseline
Review the updated critical path after rescheduling. Delays, changed logic, and revised durations can move activities onto or off the critical path, so compare the new path with the previous schedule.
Then compare the updated version with the baseline. Planera's Version Compare shows activity-level date changes, making it easier to see what moved and how much the forecast has changed.
Before publishing the update, run Planera's free DCMA quality check to catch common schedule quality issues.
How Do You Update the Critical Path After Recording Progress?
Recording progress is only the first part of a schedule update. Once actual dates and remaining durations are entered, recalculate the schedule and review how the updated progress has changed the critical and near-critical paths.
- Recalculate activity dates: Run the schedule after entering actual progress and remaining durations. The updated network will recalculate activity dates, float, and the forecast completion date.
- Review total float: Check how much float remains on activities that could affect project completion. Activities with little or no float need closer attention because a further delay can affect the finish date.
- Identify changes to the critical path: The activities driving project completion can change as work progresses. Compare the current critical path with the previous update to see which activities have become critical and why.
- Check near-critical activities: Activities with only a few days of float can become critical after a delay. Review these activities alongside the current critical path rather than focusing only on zero-float activities.
- Check delayed activities against project completion: A delay does not automatically move the project finish date. If an activity has enough available float, the project may absorb the delay without changing completion. If the delay uses up that float, check whether the activity or its successors now drive the finish date.
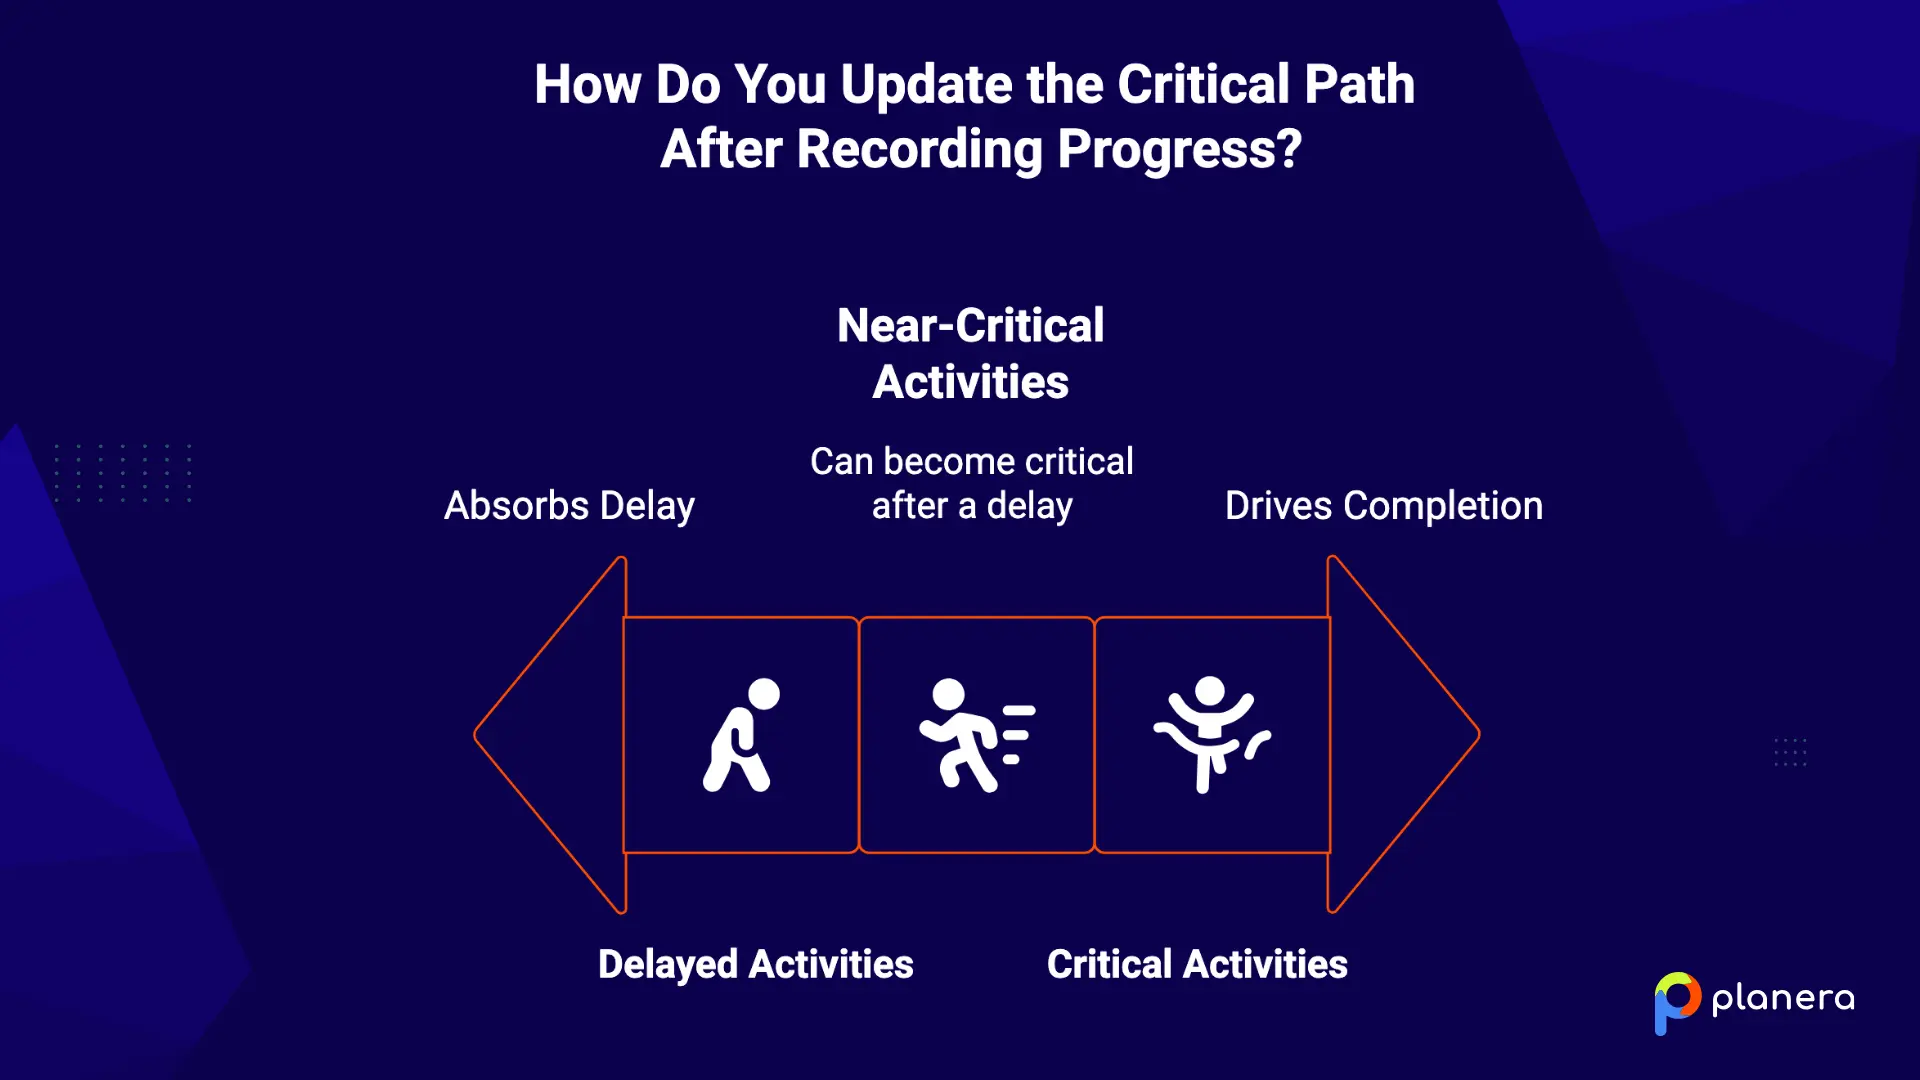
In Planera, you can review the updated critical path directly after rescheduling and compare it with previous schedule versions to see how the path has changed.
How Do You Handle Delays When Updating a CPM Schedule?
Start by recording the delay in the schedule, including when it occurred, which activity it affected, what caused it, and any supporting information. This gives you a clear record of what changed before you assess its effect on the rest of the schedule.
From there, check the activity's remaining duration and available float, then follow the logic to its successor activities. A delay does not automatically move the project finish date. If the activity has enough float, the schedule may absorb the delay. If it is on the critical path or uses up its available float, reschedule the project and check whether the completion date or critical path has changed.
Once the impact is clear, keep the previous schedule version alongside the updated one. Comparing the two makes it easier to see what changed because of the delay and what changed because of other schedule updates.
How Do You Update a CPM Schedule for Change Orders?
When a change order adds new scope, add the new work to the CPM schedule rather than leaving it outside the current plan. On complex builds like the data center construction process, scope changes are common and can affect multiple interconnected activities across the schedule. Break the change into activities with realistic durations and connect them to the existing schedule with the appropriate logic.
Once you connect the new activities, reschedule the project and check how they affect the surrounding work. A change order does not automatically delay the project finish. Its impact depends on where the new work fits in the network and how much float is available.
In Planera, you can add the new work as a fragnet and connect it to the existing schedule. Give the activities their actual or expected dates, then run the schedule to include the change in the current forecast. Once the change is approved, continue updating those activities like any other work in the project.
How Do You Check a Construction CPM Schedule After Updating It?
Before publishing an updated CPM schedule, take a final pass through the data and logic. A quick review can catch errors that would otherwise affect the forecast.
- Confirm the data date: Make sure the update uses the correct data date and that progress has been recorded consistently through that point.
- Check actual dates and remaining durations: Make sure completed activities have the correct actual dates and that remaining durations reflect the latest field information.
- Review schedule logic: Look for missing relationships, hard constraints, dangling activities, negative float, or unusually high float.
- Compare with the previous update: Check which dates, durations, relationships, and activities changed and make sure those changes are expected.
- Review the critical path: Confirm that any change to the critical path makes sense based on the project's current progress and logic.
- Get a second review: Have another scheduler or project team member review the update before it becomes the current schedule.
Planera gives you tools to make this review easier. Its schedule quality checks can flag issues such as broken logic, hard constraints, and dangling activities, while the DCMA quality check provides a structured review of common CPM schedule problems.
Once the checks are complete, compare the updated schedule with the previous version and baseline, resolve any unexpected issues, and publish the update.
Book a Planera demo to see how you can manage CPM updates and schedule quality checks in one place.
FAQ
What is a construction CPM schedule update?
A CPM schedule update records actual progress through a specific data date, then recalculates activity dates, float, and the project forecast.
How often should a construction CPM schedule be updated?
Update the schedule at each agreed data date and whenever significant project changes affect the forecast. Weekly updates are common, while some contracts require monthly updates.
What should be included in a CPM schedule update?
Include the data date, actual start and finish dates, remaining durations, current activity status, delays, logic or scope changes, and updated milestone dates.
What is a data date in a CPM schedule?
The data date is the point in time through which actual progress has been recorded. Work after the data date is treated as forecast work.
How do you update the critical path in a construction schedule?
Record the latest progress, update remaining durations, and run the schedule. Then review total float and the recalculated critical path to see which activities are now driving project completion.
What happens when an activity finishes later than planned?
Its successors may move, available float may decrease, and the critical path may change. Whether the project finish date moves depends on the activity's position in the schedule and available float.
What is the difference between a baseline and an updated construction schedule?
The baseline is the reference plan against which project performance is measured. The updated schedule reflects actual progress and the current forecast, so comparing the two shows how the plan has changed.
How do you check a CPM schedule update for errors?
Check the data date, actual dates, remaining durations, activity relationships, constraints, float, and critical path. Then compare the update with the previous version and baseline to identify unexpected changes.
Can construction scheduling software automate CPM schedule updates?
Scheduling software can recalculate dates, float, and the critical path after an update and can help bring field progress into the schedule. AI construction scheduling tools go further by flagging risks and running what-if scenarios automatically.
Broader applications of AI in construction are expanding what teams can automate in the update process, though the results still depend on accurate and timely project data.

You deserve better scheduling software.
Drive revenue, reduce costs, and manage scheduling with Planera.
Request a Demo